let me tell you, in all seriousness, that we planned this kitchen remodel starting with the Boxer Feeding Station. really! ask Terry. when we sat down with him last Fall, i said "here are the things that have to happen in this remodel..." and first on our list was the Feeding Station. yeah, our kids are spoiled, but seriously, this is the smartest thing you can do if you have dogs & live in a small space - which we do. and this is not a new concept to us! in our original kitchen, we had a bottom drawer that was not being used. i had Nacho create a Feeding Station there that served us well for gosh, 8 years? in simplest instructions, he put a board across the open drawer, cut out 2 holes, then dropped the bowls in. it was probably the smartest thing we did in our little space because everything was put away when they were done eating.
now on to the show! BFS v2.0 looks something like this....

and the full cabinet...

okay, but here's the problem, neither one of us remember exactly how this was ordered, but here's the gist:
we started by using 2 upper cabinets for the "back side" of our island. we used uppers because base cabinets back to back would have created a 48" wide island & that was simply too big in our minds. so the wonderful people at IKEA, who also thought it was awesome we were designing a part of our kitchen with the kids in mind, suggested the uppers. we also saw a vignette in the store where they used this same config for uppers that sat right on the counter top instead of up on the wall. these uppers are 12" deep & that's just enough room for the feeding bowls. Nacho built a frame that sits down in the drawers & the bowls drop into that frame:

so you can see, it's simple plywood on top, a board across the back for stability, & 2 boards coming forward for more stability. where you don't have to get so fancy, is with the hinged top that creates the little storage place on right hand side in the above pic. you could simply do one solid piece across the top & cut your hole for your bowl in the center. i suggested the hinged piece so we can store extra collars, etc. there if we want...which we have not yet!
and it's nothin fancy people!

this was Stage1 before Nacho got all FancyPants on me & decided to cover it in the same Marmoelum we used on the floor. oh, and also, you can see he planned on them both eating out of 1 drawer! i mean really!? the nerve! it was the Inspector who said, that will not do - 1 bowl per drawer is code!

you can see it can't you? that look of "you really expect me to eat from the same drawer as her?" and so it was to be, separate dining facilities for each boxer! although SOME PEOPLE (ahem BOXERS) eat from whatever drawer they like!

this would be the boss for those that don't know!
the finishing touch is the little latch you see in the center

that's just a magnetic spring loaded latch. why you ask? we found that the glide on the drawers was so good that when they were eating, the drawer wanted to close. we never thought of that in our old drawer because that drawer was such a piece of crap, you actually had to lift the drawer up to close it. so they're eating & the drawer is slowly closing on them. now, we simply push down on the latch, it pops up in a locked position. when they are done, push the spring down & close the drawer!
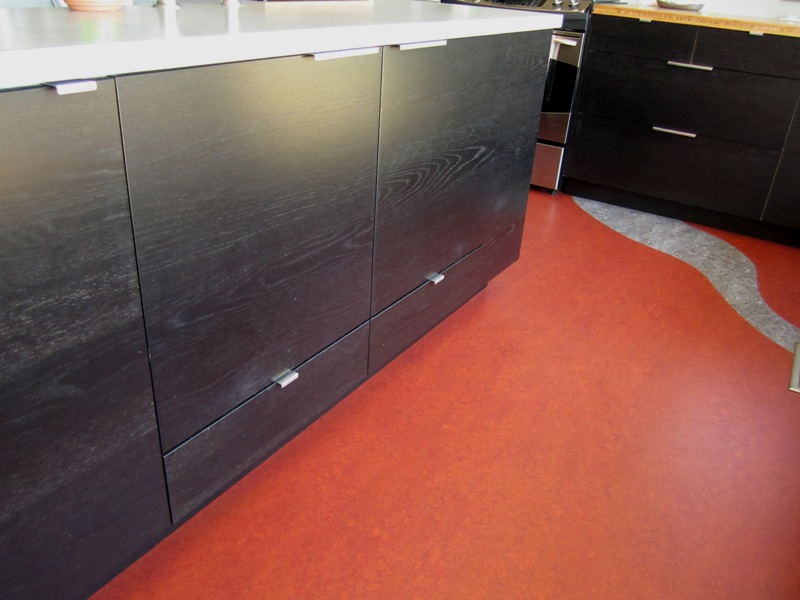
and it's like it was never there. one word of caution though....it's probably just the combinatin of Nexus Black/Brown & Boxer, but our guys can get a little messy when they eat, so i have to make sure & keep the doors & drawer fronts wiped down.
and where do we keep the food? on the opposite side of the island

this was not our ideal size, but, again, because we didn't want our island to turn into a monster, we had to compromise on the width of this cabinet. we would have LOVED to been able to do the 24" wide with the 3 bins, but this has worked out nicely. we do keep a container of Senior food in the pantry behind (to the left) of this but since it's all right there together it works perfectly! and i love that i can keep doggie meds, brushes, etc in the drawers above the bins. it's all very convenient.

2 comments:
It looks great!
Thanks for posting in so much detail! It gives me some ideas to think about on my renovation.
Thank again, Sarah
That is awesome. I'm definitely going to do something like this in my kitchen remodel. Probably not IN the kitchen but in the pantry area right next to it. Love what you did. Thanks for sharing.
Post a Comment